In the Item Content Editor, you can create individual items that are not yet associated with any tests. Such items are added to your personal items library and can be added to tests later. All new items have a Draft status until you add them to a test and publish it.
Note: The Test Content Editor also allows you to create items directly in a test (see the section Creating a New Test). Items created in the Test Content Editor can still be modified individually in the Item Content Editor.
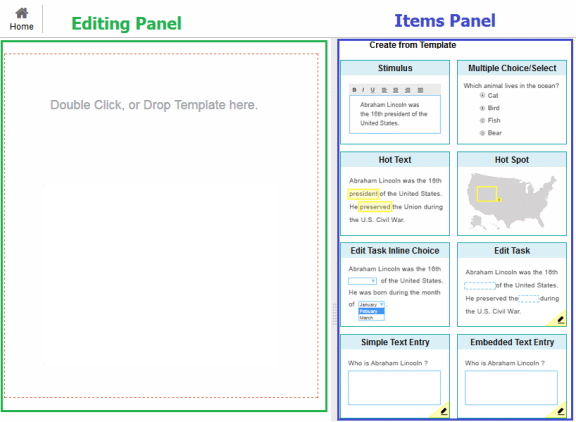
Figure 1 provides an overview of the Item Content Editor panels referenced in this section.
To create a new item:
1.On the Homepage, select Items from the Menu and click ![]() Create New Item. The Item Content Editor page appears.
Create New Item. The Item Content Editor page appears.
2.In the Items panel on the right, double-click a template or drag it into the center Editing panel to create an item from that template. A set of instructions for the selected item type appears in the Editing panel, guiding you through the content creation process.
Note: Item types that display a pencil icon in the lower-right corner in the Items panel will need to be scored by hand in the reporting system.
3.Using Table 1 as a reference, enter properties for the item, such as its associated grade level and subject.
4.To author the content for the item, follow the instructions for the appropriate item type in the section Authoring Item Content.
5.To save the item, click Save at the top of the Editing panel. Once you save an item, it is added to your personal items library.