Adding Interactions
The first time you open IAT for an item or stimulus, the item body is empty by default. This section explains how to add interaction elements to the item body. Items and stimuli may include one interaction element or many. The procedure for adding interaction elements is the same for all interaction types.
To add interaction elements to the item body:
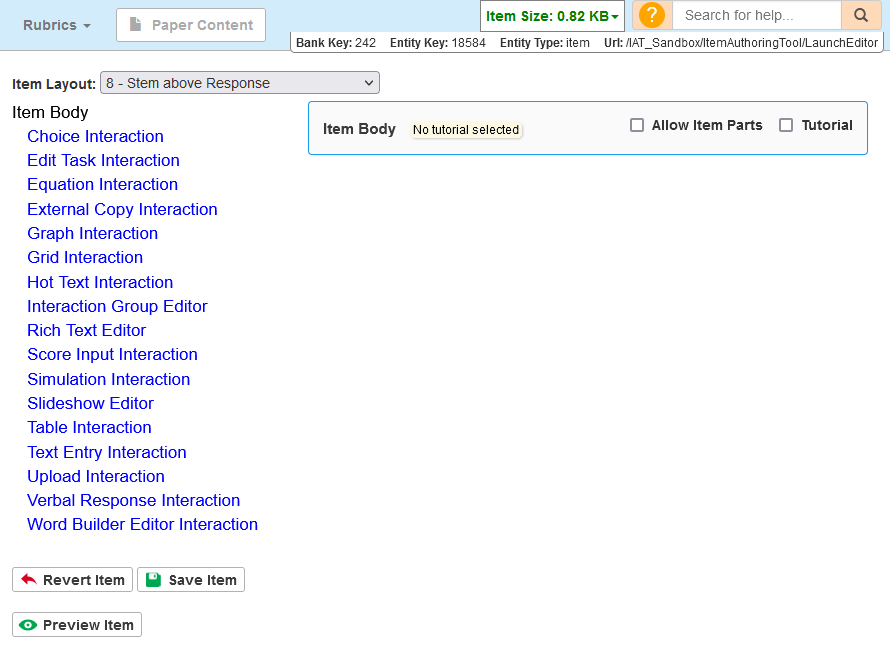
1.Click the Item Body Canvas. In the Item Body Palette, the available interaction types turn blue, as in Figure 2. The elements available in the Item Body Palette depend on the item bank you're using and whether paper content is enabled.
Figure 2: IAT Homepage with Empty Item Body Canvas Selected
2.In the Item Body Palette, click an interaction name. The interaction appears in the Item Body Canvas, and the Interaction Editor window for that element opens.
3.Enter the interaction content. Typically, you will use the Renderer tab to create the content that will appear on the student’s test, then use the Variables tab to prepare the interaction for scoring. For more information, refer to Introduction to Interaction Editors.
4.To save the entered content, click ![]() in the upper-right corner. Click OK in the confirmation pop-up that appears.
in the upper-right corner. Click OK in the confirmation pop-up that appears.
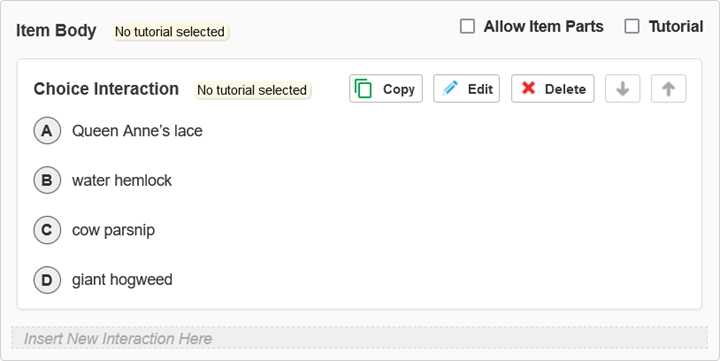
5.To close the Interaction Editor window, click  in the upper-right corner. A read-only preview of the entered content appears in the Item Body Canvas (Figure 3).
Figure 3: Item Body Canvas with Multiple Choice Interaction
6.To add additional interaction elements to the item body, click Insert New Interaction Here in the Item Body Canvas (Figure 3), and repeat steps 2–5.