Dividing an Item into Parts
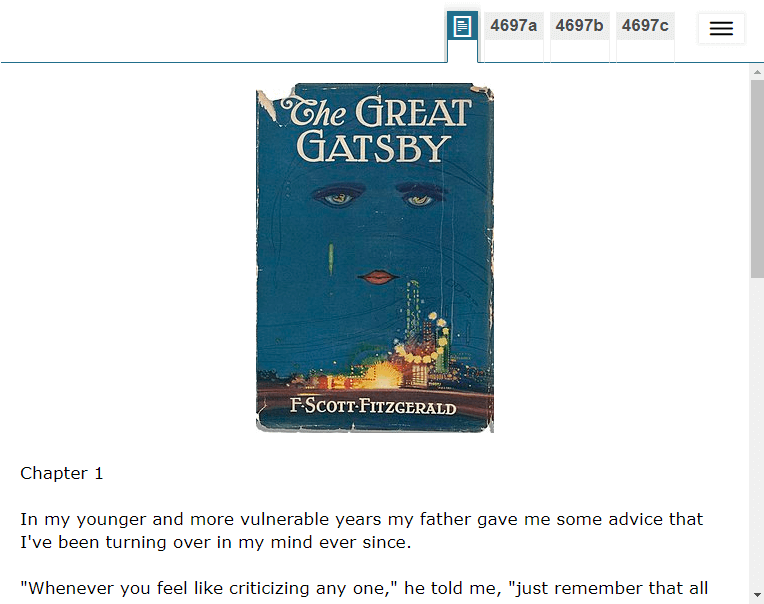
Sometimes you may want an item in an online test to appear in the form of multiple sub-items, each in its own tab, with the first tab being an associated stimulus, as in Figure 4. You may want to do this if you're creating a long item with many interactions. In order for the tabs to appear, you must select a paginated layout from the Item Layout dropdown list above the Item Body Palette.
On a paper test, the item part headers appear, but the parts are not otherwise divided.
Figure 4: Item Divided into Parts: Stimulus Tab
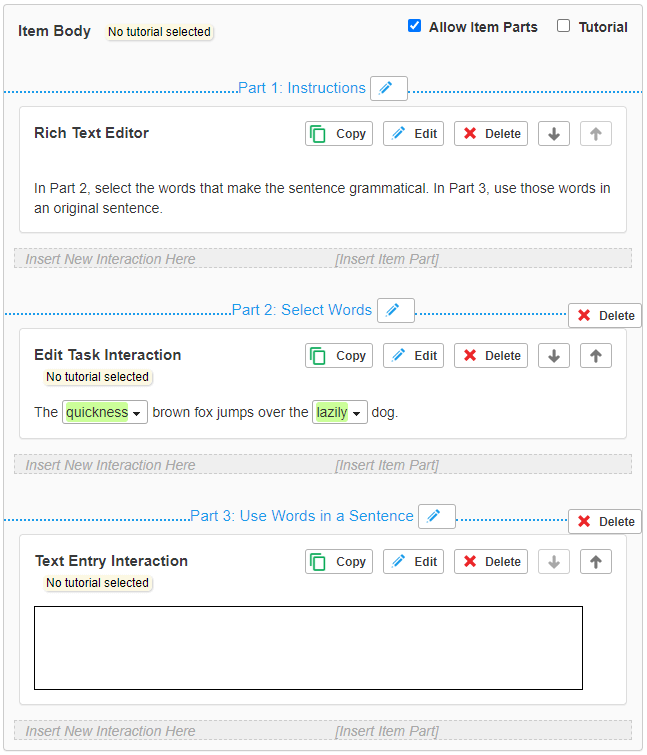
1.Select the Allow Item Parts checkbox at the upper-right corner of the Item Body Canvas (Figure 5). The first item part header appears at the top.
2.Click the edit button  on the item part header.
3.Replace the text in the header using the simplified CKEditor.
4.To add more headers, click [Insert Item Part] where you want each header to go and repeat steps 2–3.
To delete a header below the first header, click Delete  on the right side. To delete all headers, clear the Allow Item Parts checkbox. Neither of these actions deletes any of the interactions under the headers.
Figure 5: Item Body Canvas Divided into Parts