Inserting an Image
For information about recommended image dimensions, refer to Appendix A.
To insert an image with CKEditor:
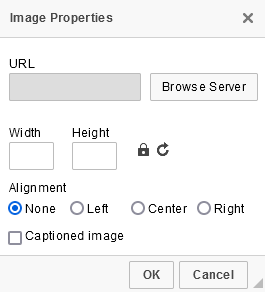
1.Click  . The Image Properties window appears (Figure 218).
Figure 218: Image Properties Window
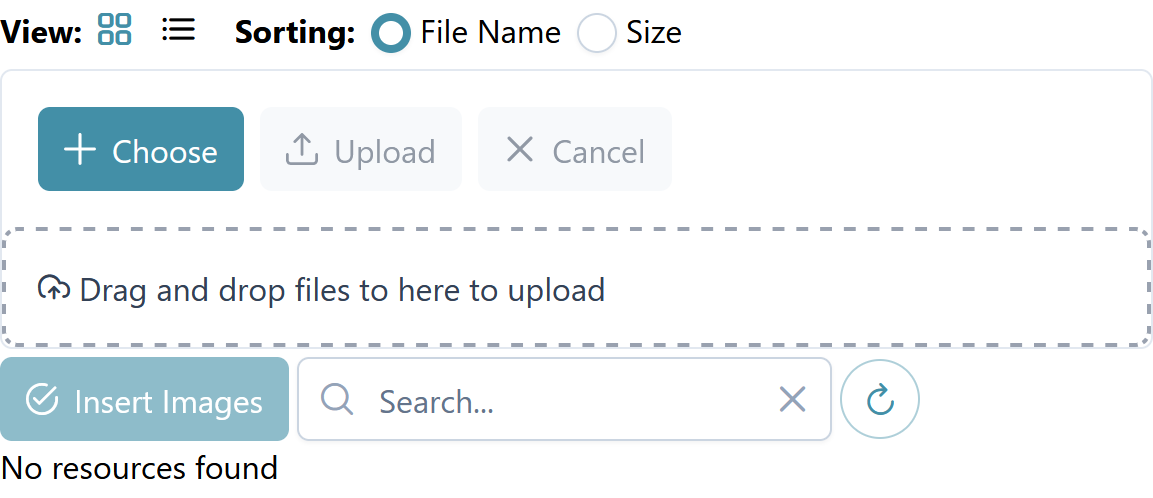
2.Click Browse Server and select the image file you want in the Resource Browser window that appears. Select Insert Images. The Resource Browser window closes.
If the file is not available in the Resource Browser window, as in Figure 219, you can either drag and drop it from your computer into the box with the dashed line, or you can select Browse files and then select the file from your computer. When the file previews, select Upload. The file then appears in the window and you can proceed to select and insert it.
Note that if you upload more than one file with the same name, numbers are appended to the names in parentheses.
You can switch between viewing thumbnails and viewing a list by selecting the list button
 and thumbnail button
  at the top of the window.
Search file names by typing in the Search text box.
Sort in thumbnail view using the Sort by options at the top of the Resource Browser window. Sort in list view by selecting the column headers.
To download a file, select
 . In thumbnail view, the download button appears when you hover over.
Figure 219: Resource Browser Window for Images
3.Optional: To modify the image properties, do any of the following:
- To change the image width and height, enter the values (in pixels) in the Width and Height fields.
- To unlock the width-to-height ratio, click
 .
. - To reset the image dimensions, click
 .
. If alignment options are available, align the image.
If captioning is available, select Captioned image.
4.Click OK. The image appears where you inserted it.
5.Optional: To edit the image, double-click it. The Image Properties window appears again.
6.Optional: To add a caption to an image marked as captioned, click in the caption text box and replace the existing text. In preview and TDS, the caption will appear below the image.