Inserting Audio
Note that if you upload a WAV file, IAT automatically converts the file to M4A and OGG formats, but this is not recommended, as it reduces audio quality.
To insert an audio clip with CKEditor:
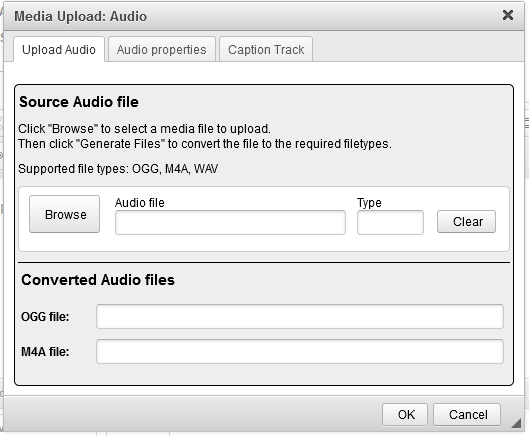
1.Click  . The Media Upload: Audio window appears, displaying the Upload Audio tab (Figure 220).
Figure 220: Media Upload: Audio Window: Upload Audio Tab
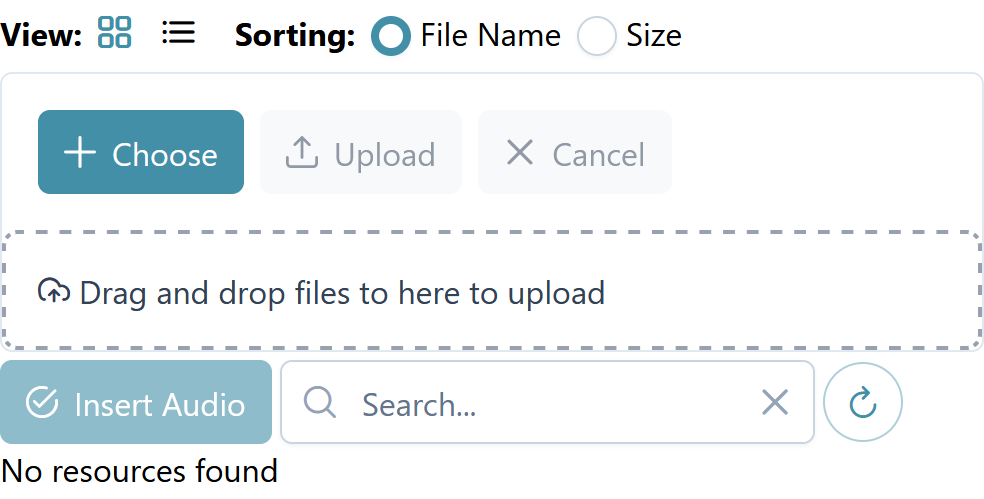
2.Click Browse and select the M4A, OGG, or WAV file you want in the Resource Browser window that appears. Select Insert Audio. The Resource Browser window closes.
If the file is not available in the Resource Browser window, as in Figure 221, you can either drag and drop it from your computer into the box with the dashed line, or you can select Browse files and then select the file from your computer. When the file previews, select Upload. The file then appears in the window and you can proceed to select and insert it.
Note that if you upload more than one file with the same name, numbers are appended to the names in parentheses.
You can switch between viewing thumbnails and viewing a list by selecting the list button
 and thumbnail button
  at the top of the window.
Search file names by typing in the Search text box.
Sort in thumbnail view using the Sort by options at the top of the Resource Browser window. Sort in list view by selecting the column headers.
To download a file, select
 . In thumbnail view, the download button appears when you hover over.
Figure 221: Resource Browser Window for Audio
3.In the Media Upload: Audio window, select Generate Files. IAT converts the audio file into both OGG and M4A.
4.Optional: In the Audio properties tab, you can set the audio clip to play automatically and select an alignment option (left, center, or right).
5.Optional: In the Caption Track tab, add a caption file for the audio in WebVTT (.vtt) format by selecting Browse, selecting the file you want in the Resource Browser window that appears, then selecting Insert Track. This Resource Browser window has all the same controls as the one you used in step 2. When the student plays the audio, the captions will float near the bottom of the screen.
6.Click OK. The pop-up closes and the audio clip is inserted.
7.Optional: To move the audio clip, click and drag the  icon at the upper-left corner.
8.Optional: To edit the audio clip, double-click it. The Media Upload: Audio window appears again.