Inserting a Video
Note that these instructions largely apply to adding American Sign Language (ASL) videos in most interactions as well. Read the instructions for each interaction to find out how the procedure differs.
To insert a video clip:
1.Click  . The Media Upload: Video window appears (Figure 220).
Figure 220: Media Upload: Video Window: Upload Video Tab
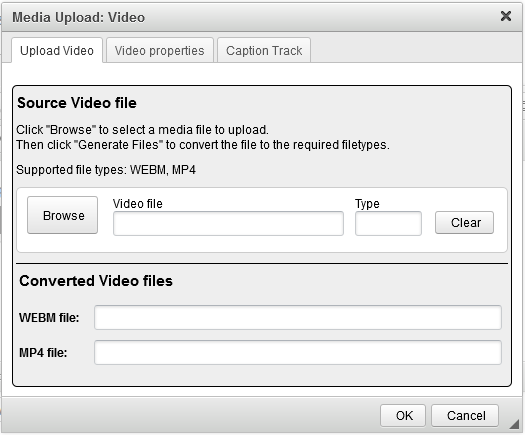
2.Click Browse and select the MP4 or WEBM file you want at the bottom of the Resource Browser window that appears. Select Insert Video. The Resource Browser window closes.
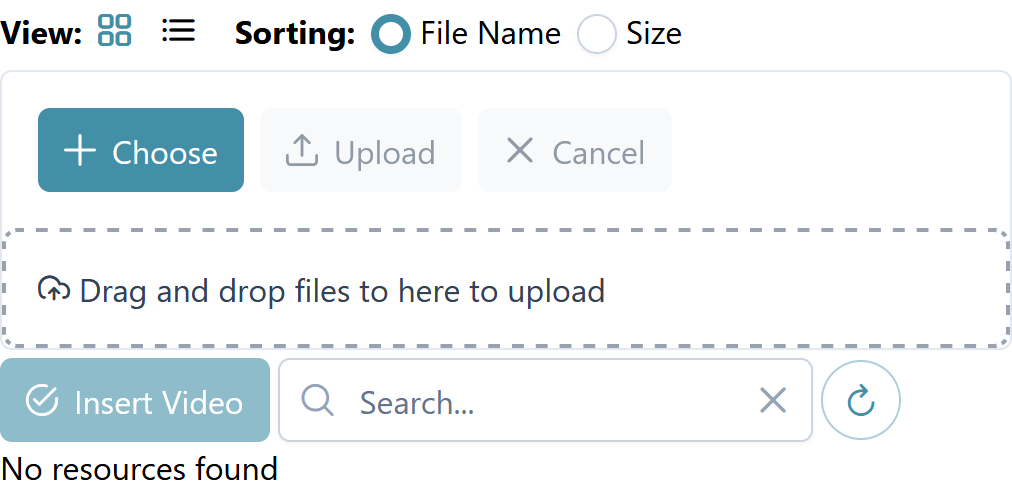
If the file is not available in the Resource Browser window, as in Figure 221, you can either drag and drop it from your computer into the box with the dashed line, or you can select Choose and then select the file from your computer. When the file previews, select Upload. The file then appears at the bottom of the window and you can proceed to select and insert it.
You can switch between viewing thumbnails and viewing a list by selecting the list button
 and thumbnail button
  at the top-left corner.
Search file names by typing in the Search text box.
Sort in thumbnail view using the Sorting options at the top of the Resource Browser window. Sort in list view by selecting the column headers.
Figure 221: Resource Browser Window for Video
3.In the Media Upload: Video window, click Generate Files. IAT converts the video file into both WEBM and MP4 files.
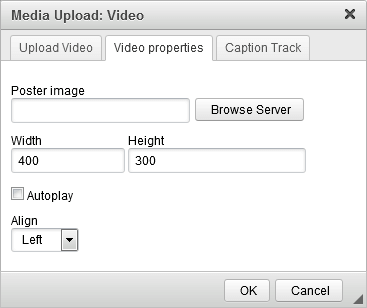
4.Optional: In the Video properties tab (Figure 222), set additional properties for the video, if necessary:
- To upload a poster image that appears when the video is not playing, click Browse Server beside the Poster image field and select the image file you want in the Resource Browser window that appears. Select Insert Images. This Resource Browser window has all the same controls as the one you used in step 2.
- To adjust the video’s dimensions, modify the pixel values in the Width and Height fields.
- To set the video to play automatically when students open it, mark the Autoplay checkbox.
Select an alignment from the Align dropdown list (left, center, or right).
Figure 222: Media Upload: Video Window: Video Properties Tab
5.Optional: In the Caption Track tab, upload the video’s captions by selecting Browse, selecting the file you want in the Resource Browser window that appears, and then selecting Insert Track. This Resource Browser window has all the same controls as the one you used in step 2. When the student plays the video, the captions will appear superimposed on it.
6.Click OK. The pop-up closes and the video clip is inserted.
7.Optional: To edit the video clip, double-click the  icon at the upper-left corner. The Media Upload: Video window appears again.