Appendix F: Translating an Item or Stimulus
IAT includes the Translation Tool, also known as the Common Translation Editor (COTE). It is accessible from ITS and allows you to enter a non-English language translation for any text that appears in an item or stimulus. You cannot edit the English text content in this tool.
Item writers should have no need to use the Translation Tool, since this task is typically subcontracted out to one or more vendors.
You can use the Translation Tool for either online or paper translations. In ITS, the paper translations can be found under the English Paper lane of an item. If the Link to online rendering checkbox is marked on an item element, that element will not be translatable for paper, and instead will inherit the translation used online.
The Translation Tool displays two panels, as in Figure 290. A table in the panel on the right lists all the translatable text elements in the item, while the panel on the left shows a preview of the item.
You can collapse and expand the two panels by clicking the  buttons.

Click Detail view to learn more about the English-language elements being translated, as in Figure 291.
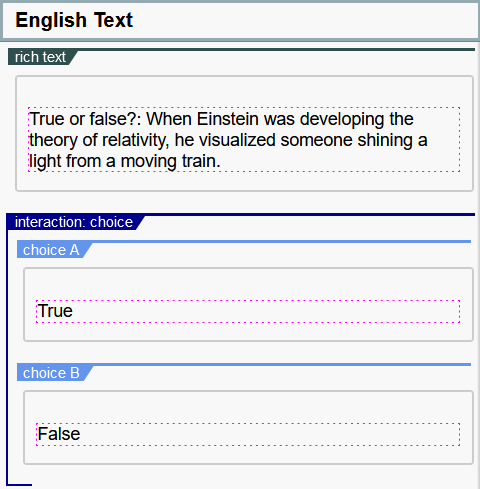
Figure 291: Translation Tool: English Text Column with Detail View On
Clicking the Item Size dropdown menu at the top left shows you the file size of the item in each language.
1. Log in to ITS.
2.Select the appropriate item bank and user role.
3.Navigate to an item or stimulus that is in the correct review stage to be translated.
4.Click  beside the target language lane in the Content Files section. The Translation Tool appears.
- To use a third-party tool to automatically generate machine translations for all the text elements, click AUTO-GENERATE. In the confirmation pop-up, click Proceed. The auto-generated text overwrites all existing target language text.
To edit the generated text, follow the instructions below.
- Enter the translation for one text element at a time by using the panel on the right to do the following:
i.Click inside a cell in the [Language] Text column on the right side of the translation table. A CKEditor activates. For help using the CKEditor, refer to Appendix A.
ii.Replace any existing text with a translation of the corresponding English text. The preview in the left panel refreshes shortly after each edit.
iii.Repeat these steps for each row in the table.
6.Optional: If the TTS Enabled checkbox appears in a Properties section above certain cells, select it to allow Text-to-Speech to read the translated text in those cells.
7.To preview the item in the target language, use the dropdown list above the preview to select the language. You can view the item with English text; text in the target language; or, for online items, both (with the text in the target language stacked above the English). You can click Refresh to refresh immediately.
8.Optional: If you’re translating an online item and not a paper one, you can prevent a text element from appearing stacked when shown to a student in the Test Delivery System (TDS) by marking the Non-stackable checkbox on that element. You may want to do this if the element is something that does not need translation, such as an image or mathematical expression. If you don’t mark Non-stackable on an online item element, the element will appear twice when stacked. Paper elements are not stackable.
9.Optional: To revert to the last saved state, click Revert Changes below the translation table. Click OK in the confirmation pop-up that appears. The browser tab or window in which you have been editing the item closes.
10.To save changes, click Save [Language] Text below the translation table. A pop-up appears, requiring you to enter a comment and click OK. Click OK in the confirmation pop-up that appears. The browser tab or window in which you have been editing the item closes.