Creating the Response Entry Content
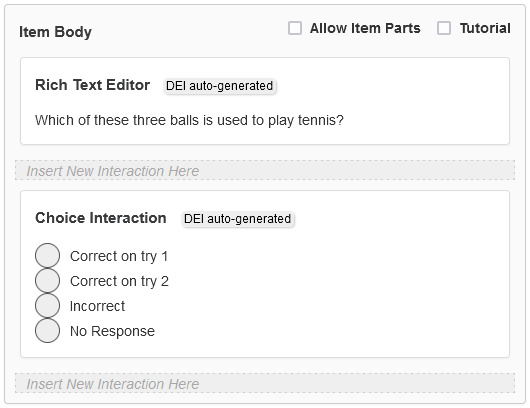
To create the Response Entry content (formerly Data Entry Interface content), open the DEI tab and select the Create DEI Content checkbox. To save your changes, click Save as Draft at the bottom of the window. Click OK in the confirmation pop-up. Auto-generated content appears in the Item Body Canvas (as in Figure 284) and in preview.
Figure 284: Item Body Canvas with Auto-Generated Response Entry Content
You can edit the auto-generated content by subsequently clearing the Create DEI Content checkbox and saving again. Now the Response Entry content is editable in the Item Body Canvas, just like content created outside of the Alternate Assessment Document Editor.