Searching for Records
Many tasks
To search for records:
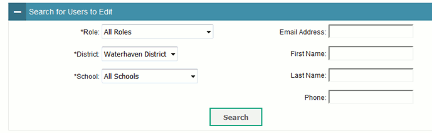
1.In the search panel, enter search terms and select values from the available search parameters, as required. Some fields may allow you to select multiple values or filter selections as you enter search terms.
Note: The search parameters available in the search panel depend on the record type. Required search parameters are marked with an asterisk.
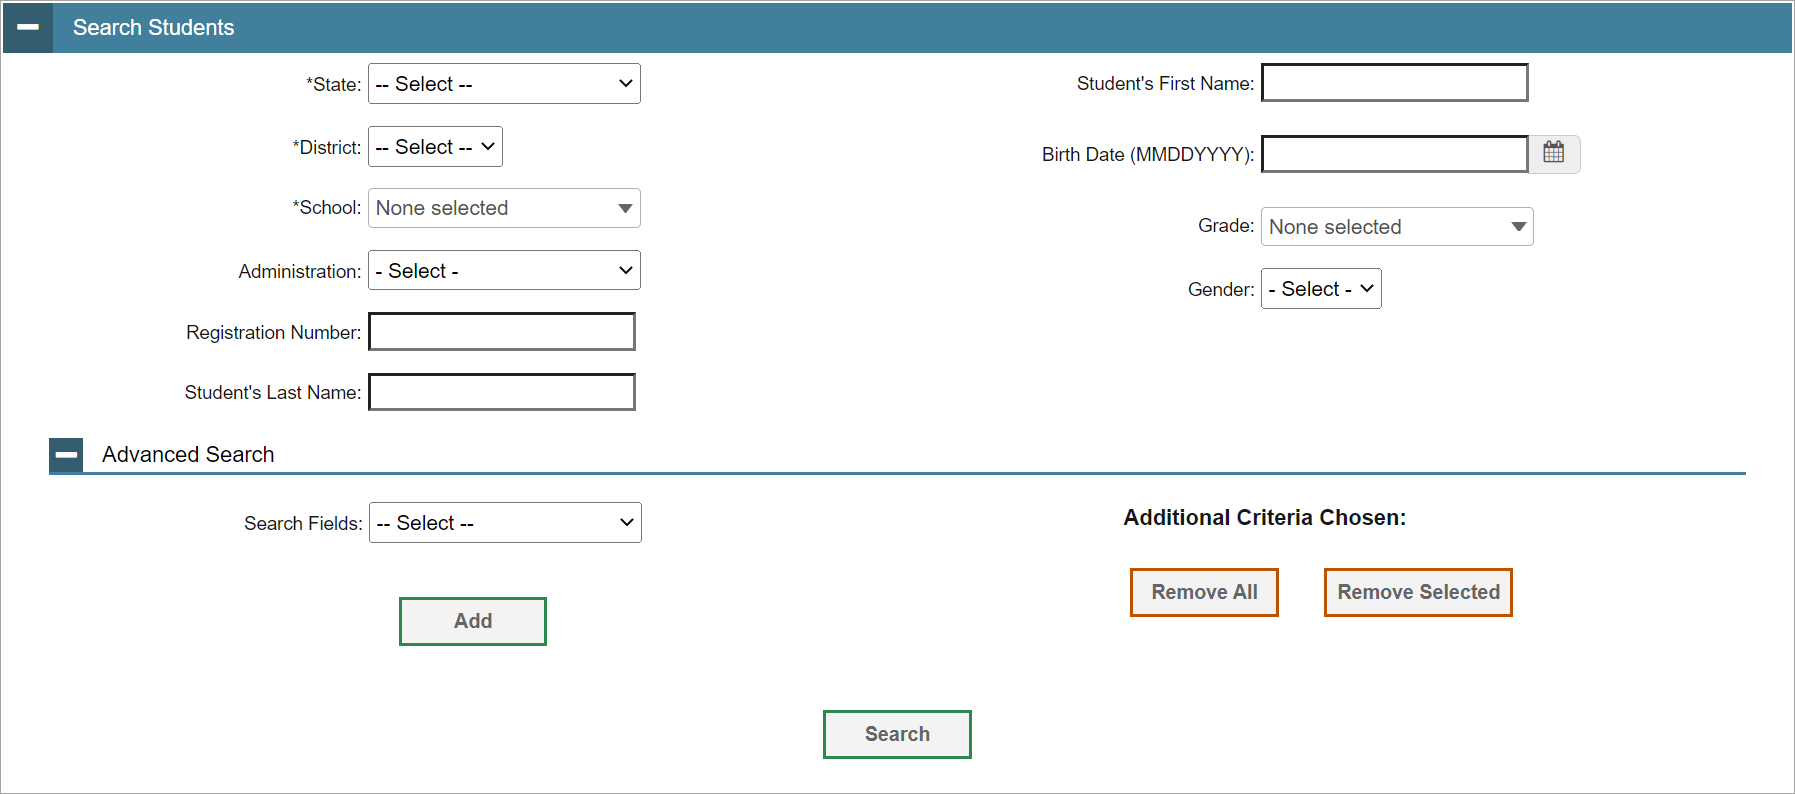
2.Optional: If the task page includes an additional search panel, select values to further refine the search results:
a.To include an additional search criterion in the search, select it and click Add or Add Selected as available.
b.Optional: To delete an additional search criterion, select it and click Remove Selected. To delete all additional search criteria, click Remove All.
- For information about how TIDE evaluates additional search criteria, Evaluating Advanced Search Criteria.
3.Click Search.
- If searching for
- If searching for other types of records, such as rosters, skip to Step 5.
4.In the search results pop-up window (Figure 10) that indicates the number of records that matched your search criteria and provides you with options to view or export the records or modify your search parameters, do one of the following:
Figure 10: Sample Search Results Pop-up Window
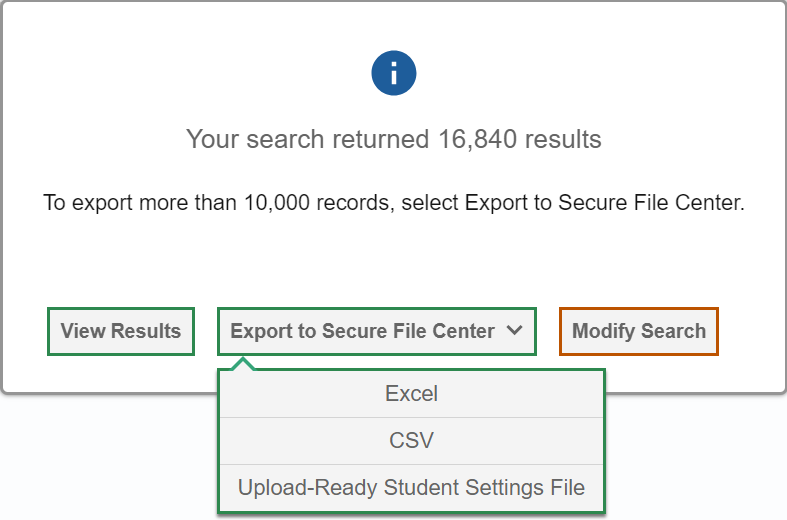
- To view the retrieved records on the page, click View Results. Continue to Step 5.
Note: This option is not available if TIDE detects that this action might adversely affect its performance.
-
To export the retrieved results to the Secure File Center, select Export to Secure File Center and pick the file format in which the data should be exported.
If you select the Upload-Ready Student Settings File format, the file will match the format needed to re-upload the data back into the system through an upload task.While your file is being exported, you can navigate away from the page and perform other tasks, if desired.
When your file is available for download, you will receive a notification to the email account
After receiving the email, you can download the exported file from the Secure File Center (Downloading Files from the Secure File Center). - Warning: Files are not emailed to maintain the security of the information.
- To return to the page and modify your search criteria, click Modify Search. Repeat Steps 1–4.
5.The list of retrieved records appears below the search panel.
6.Optional: To filter the retrieved records by keyword, enter a search term in the text box above the search results and click  . TIDE displays only those records containing the entered value.
7.Optional: To sort the search results by a given column, click its column header.
- To sort the column in descending order, click the column header again.
8.Optional: If the table of retrieved records is too wide for your browser window, you can click  and
and  at the sides of the table to scroll left and right, respectively.
9.Optional: If the search results span more than one page, select the arrows at the bottom in the page indicator to view previous or next pages.
10.Optional: To hide columns, click  (if available) and clear the checkboxes for the columns that you wish to hide. To show columns again, select the applicable checkboxes.